Trailer Project rolls again in Silver City
The BikeCart project is rolling again at the Bike Works in Silver City, New Mexico.
Read post →
The BikeCart project is rolling again at the Bike Works in Silver City, New Mexico.
Read post →The WordPress.com stats helper monkeys prepared a 2012 annual report: the blog got about 4,800 views in 2012.
Read post →The bike cart project is on hold for now. I have moved out of Cleveland.
Read post →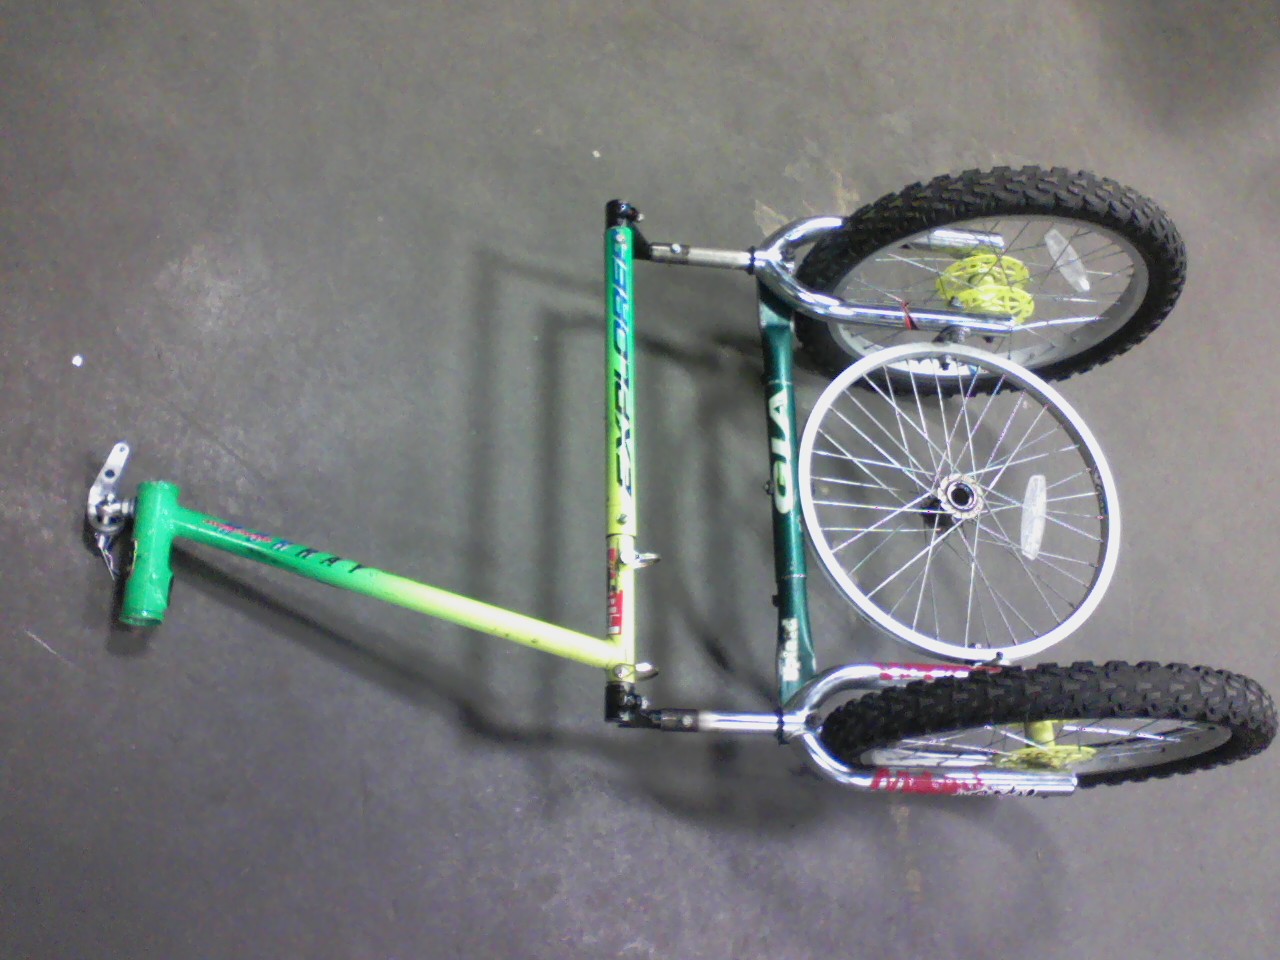
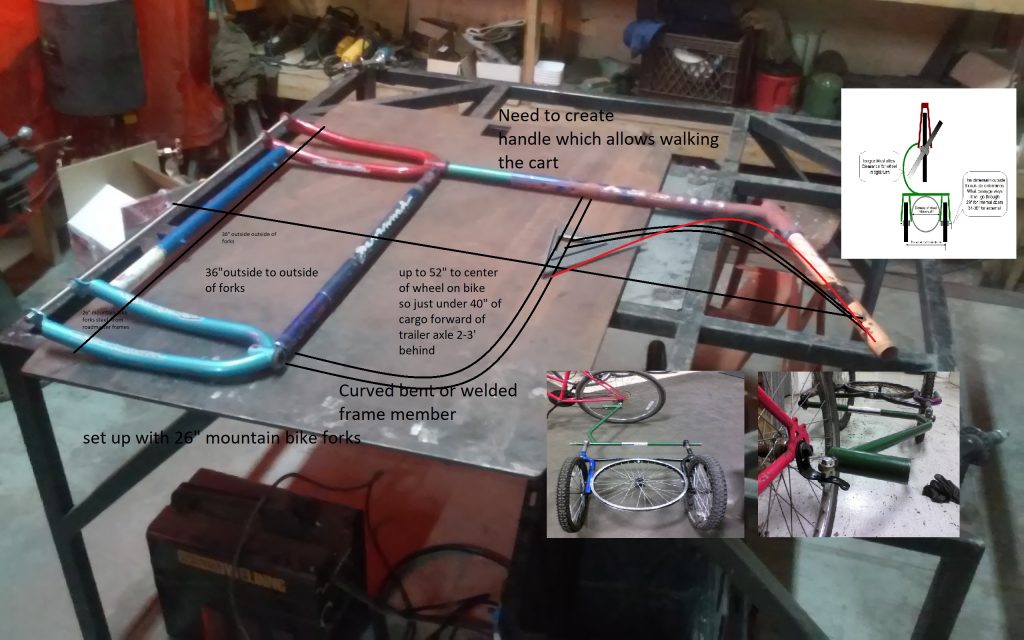
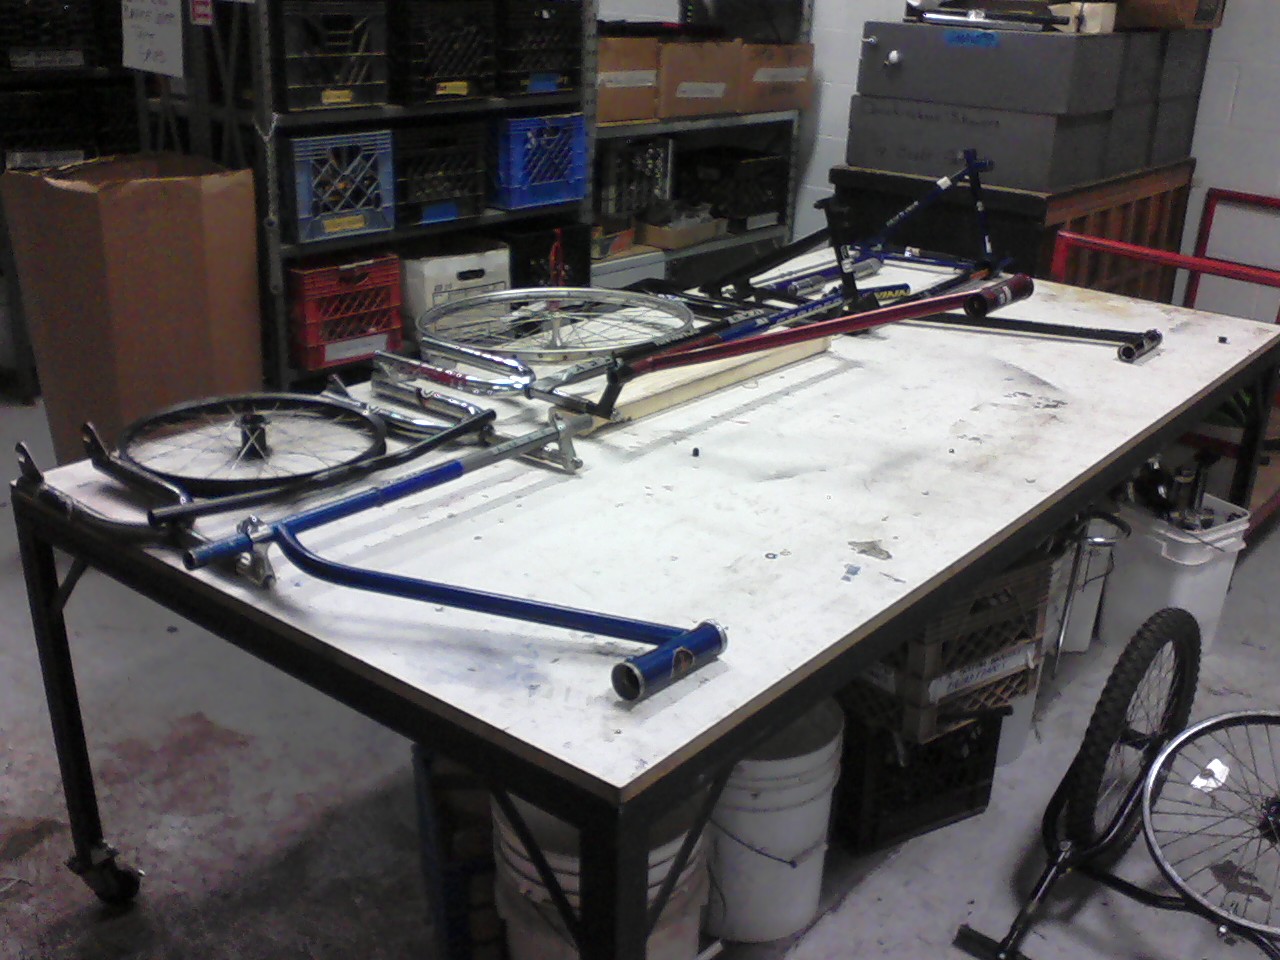
Building a trailer for Earth Fest in Cleveland — rough fitting the frame elements in the fixture.
Read post →Cart Project update video as of 4/15/2012 — watch the build progress in motion.
Read post →


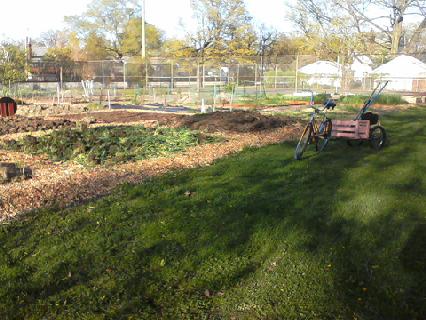
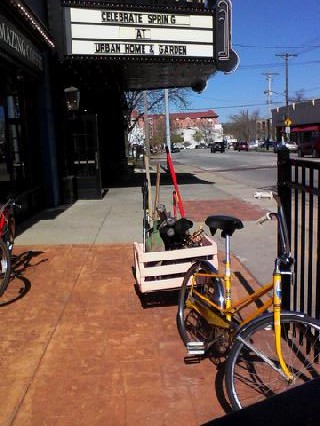
Loaded with tools and garden supplies at the old Beachcliff location.
Read post →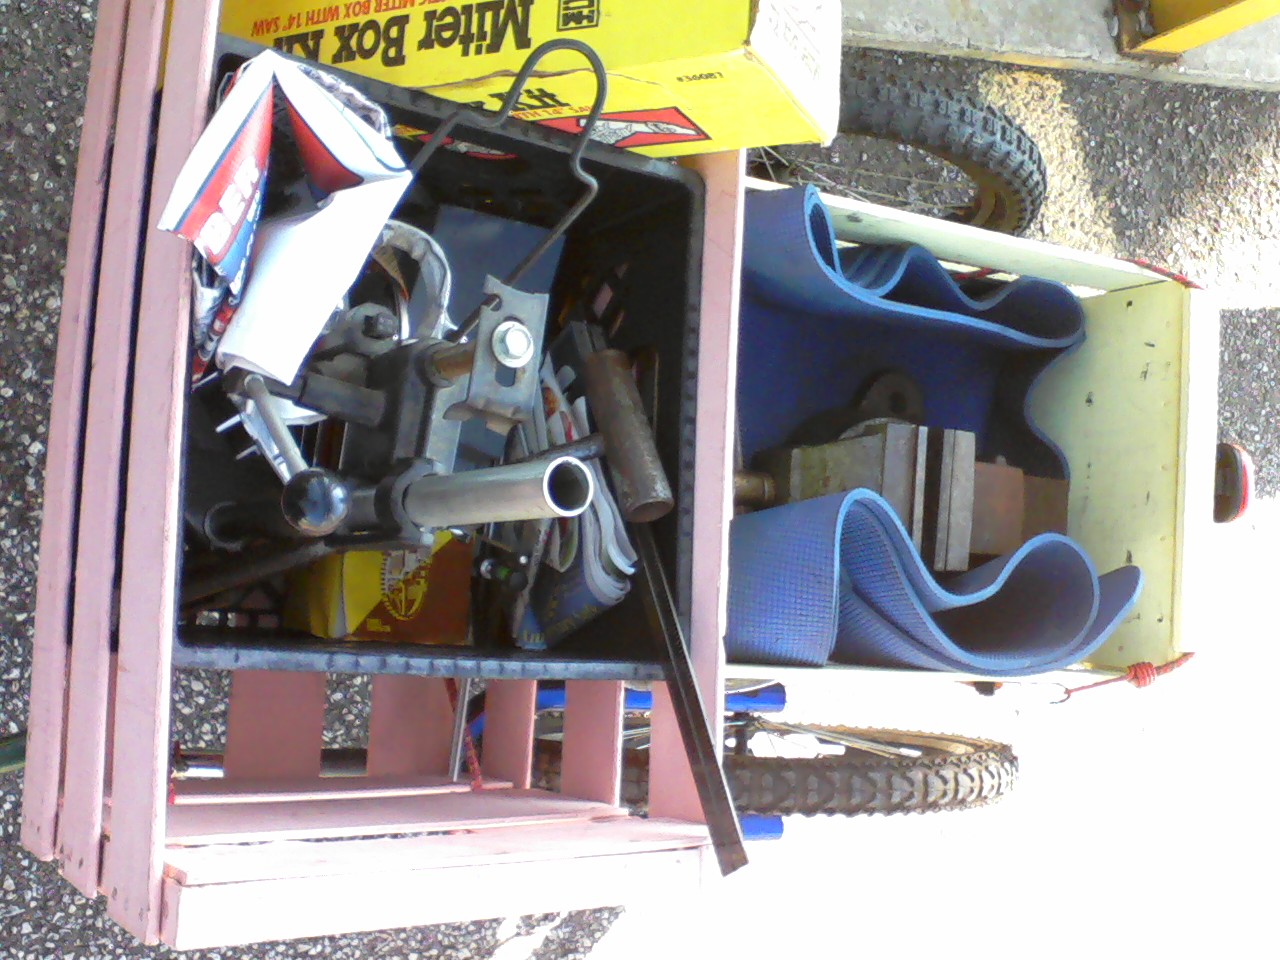
A load of tools being transported to the cart project build site.
Read post →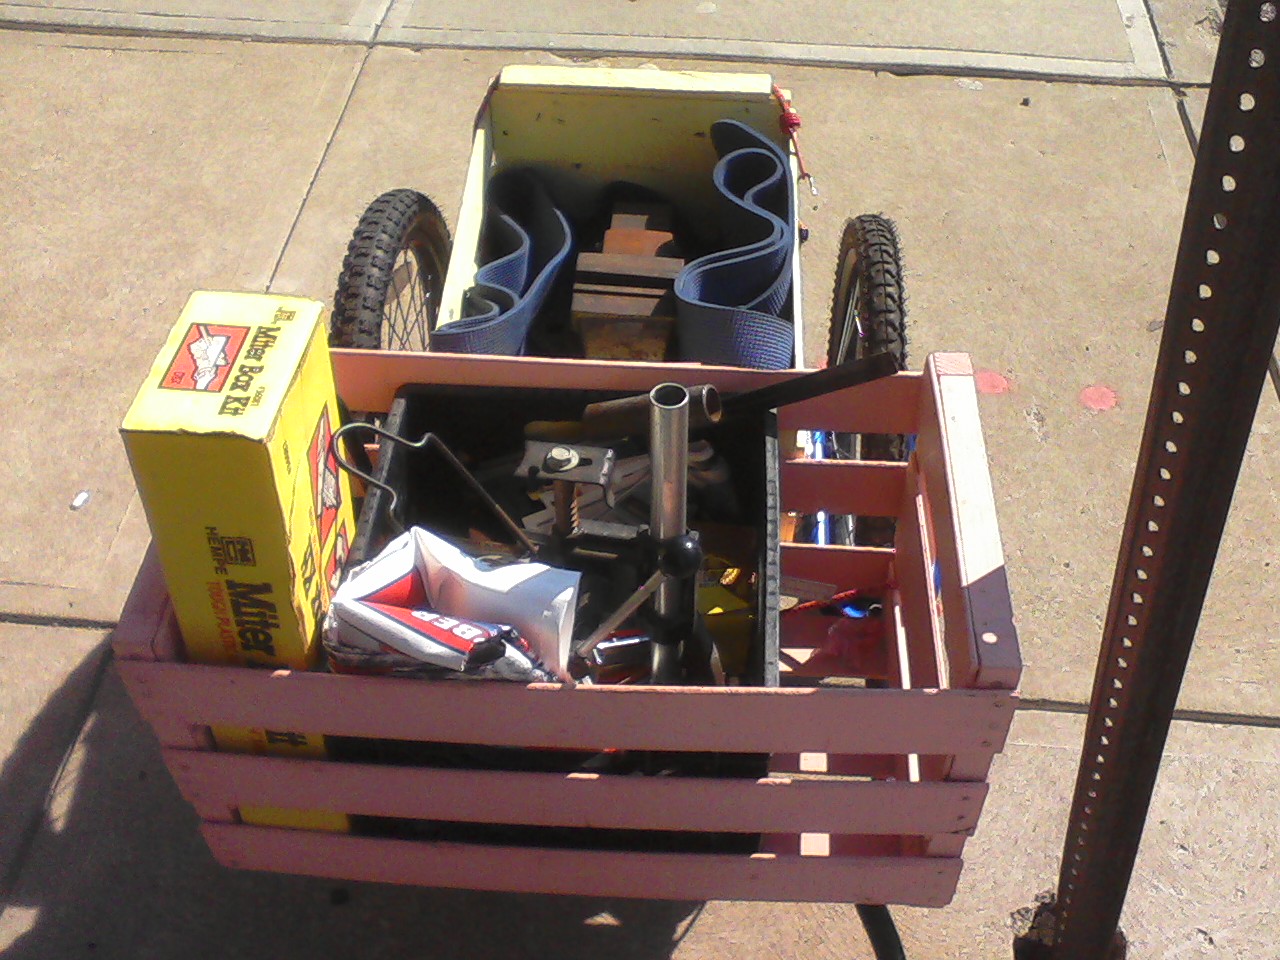
Loaded with about 25 lbs of laundry using old style crates held in place with bungee cords.
Read post →
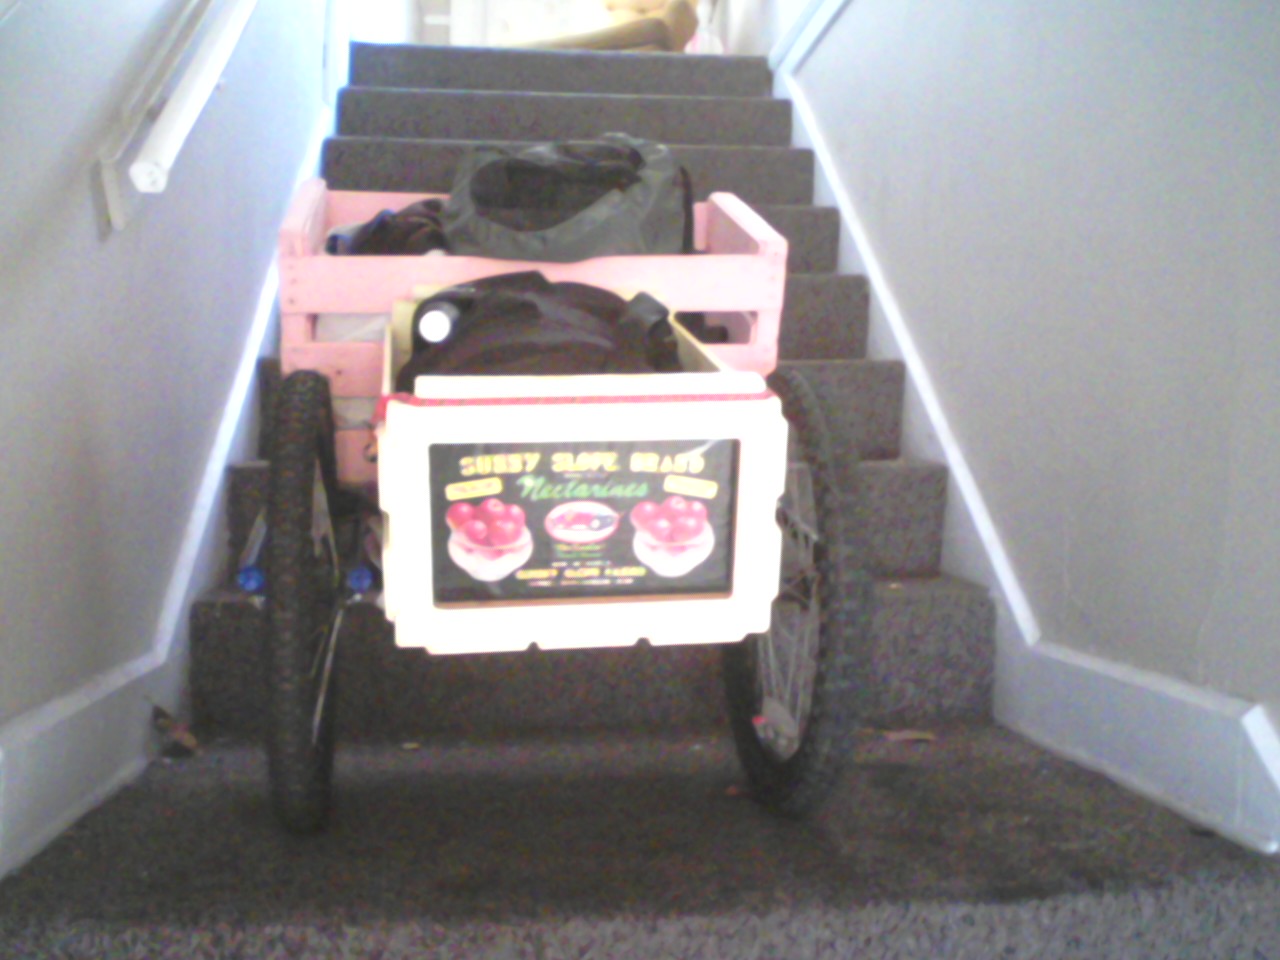
The cart fits through standard doors and can be used inside — demonstrated here in the hall.
Read post →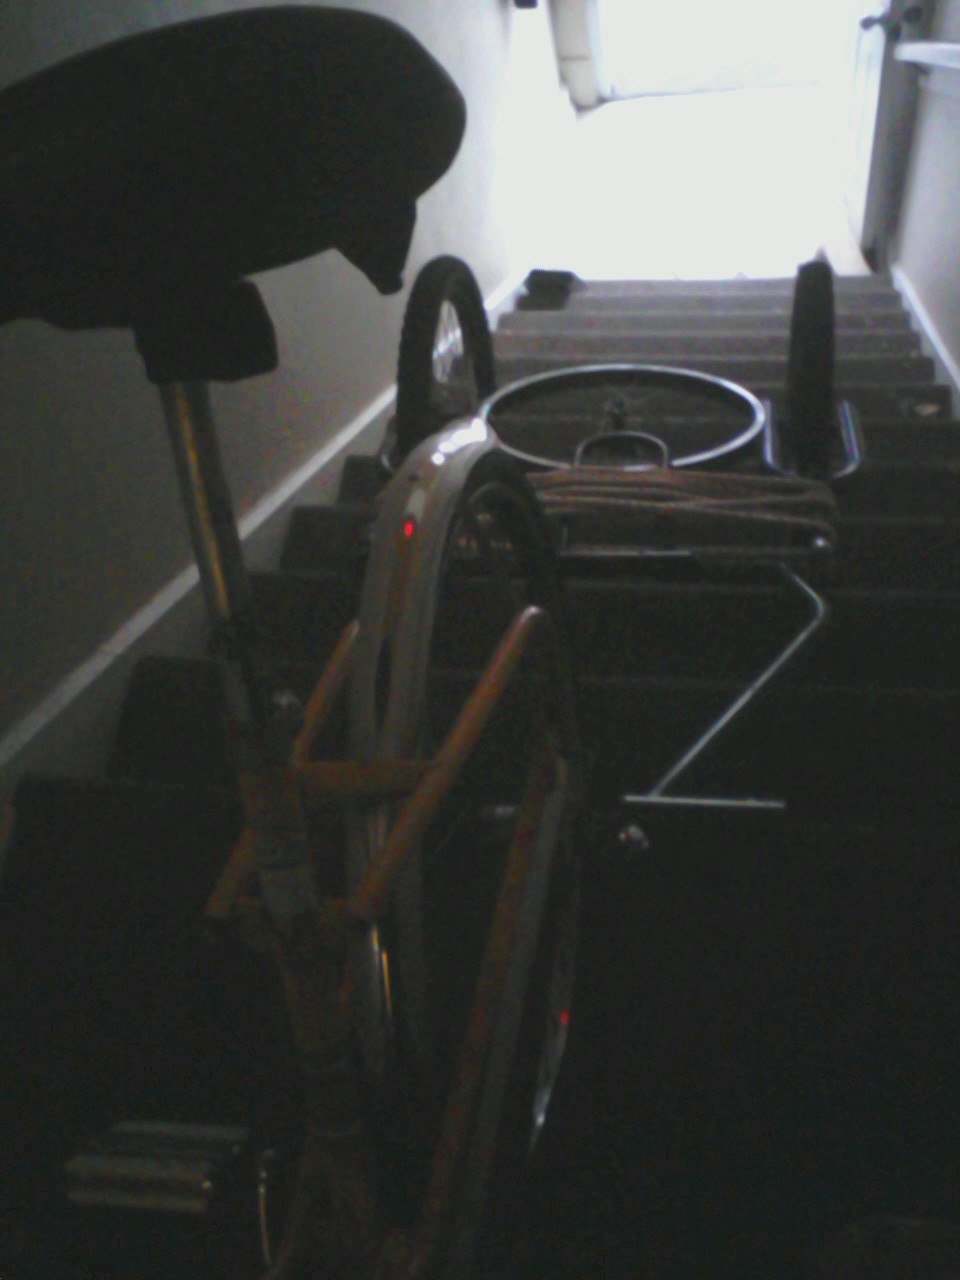
Pulled the bike and trailer right up the steps and parked them on the landing.
Read post →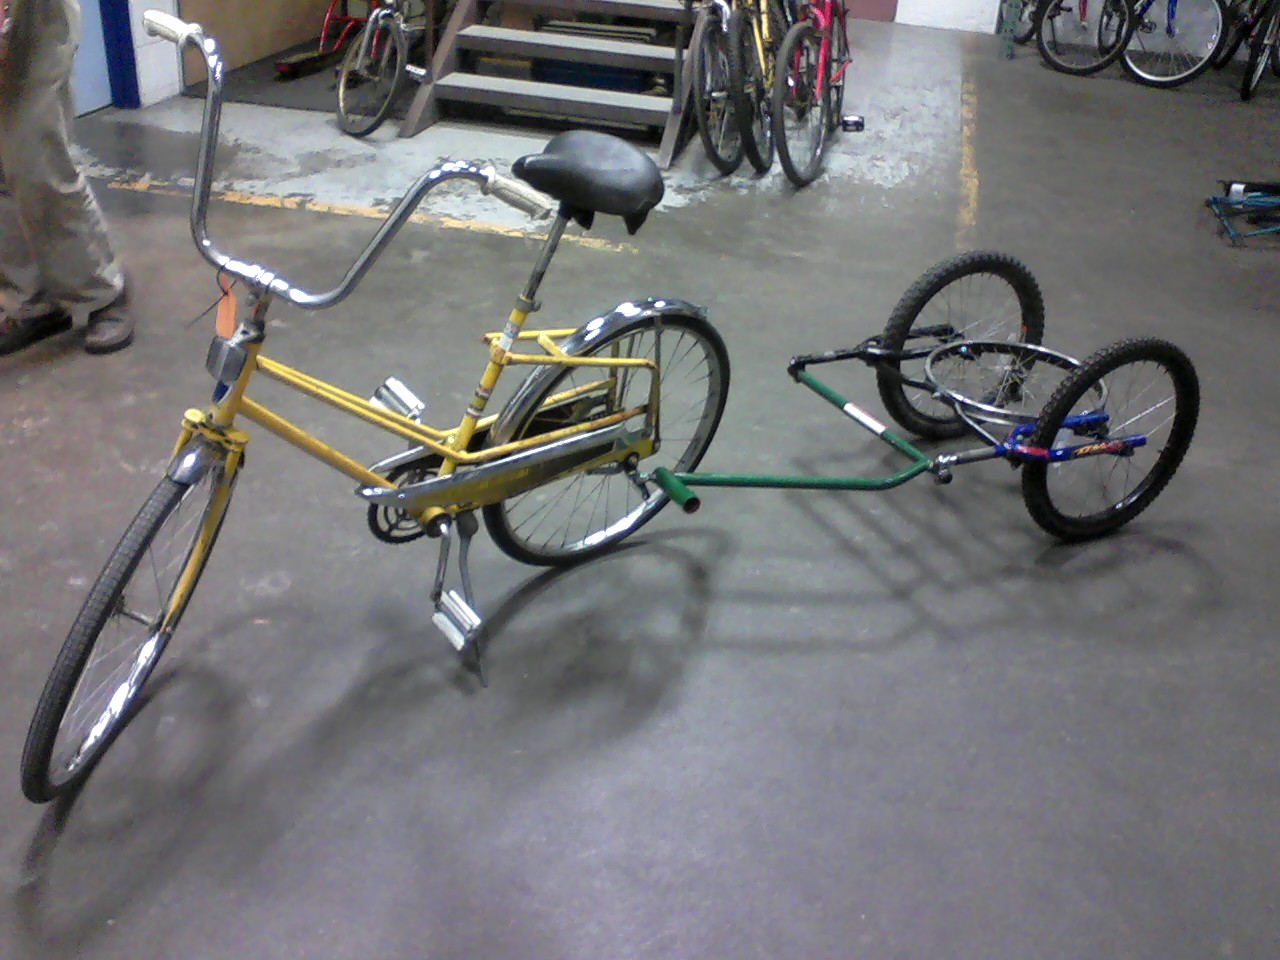
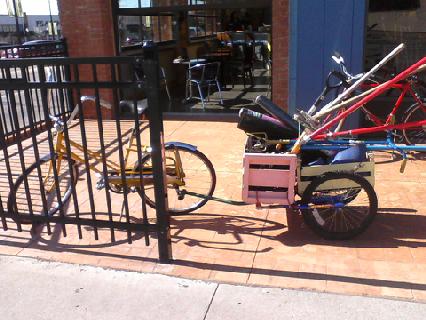
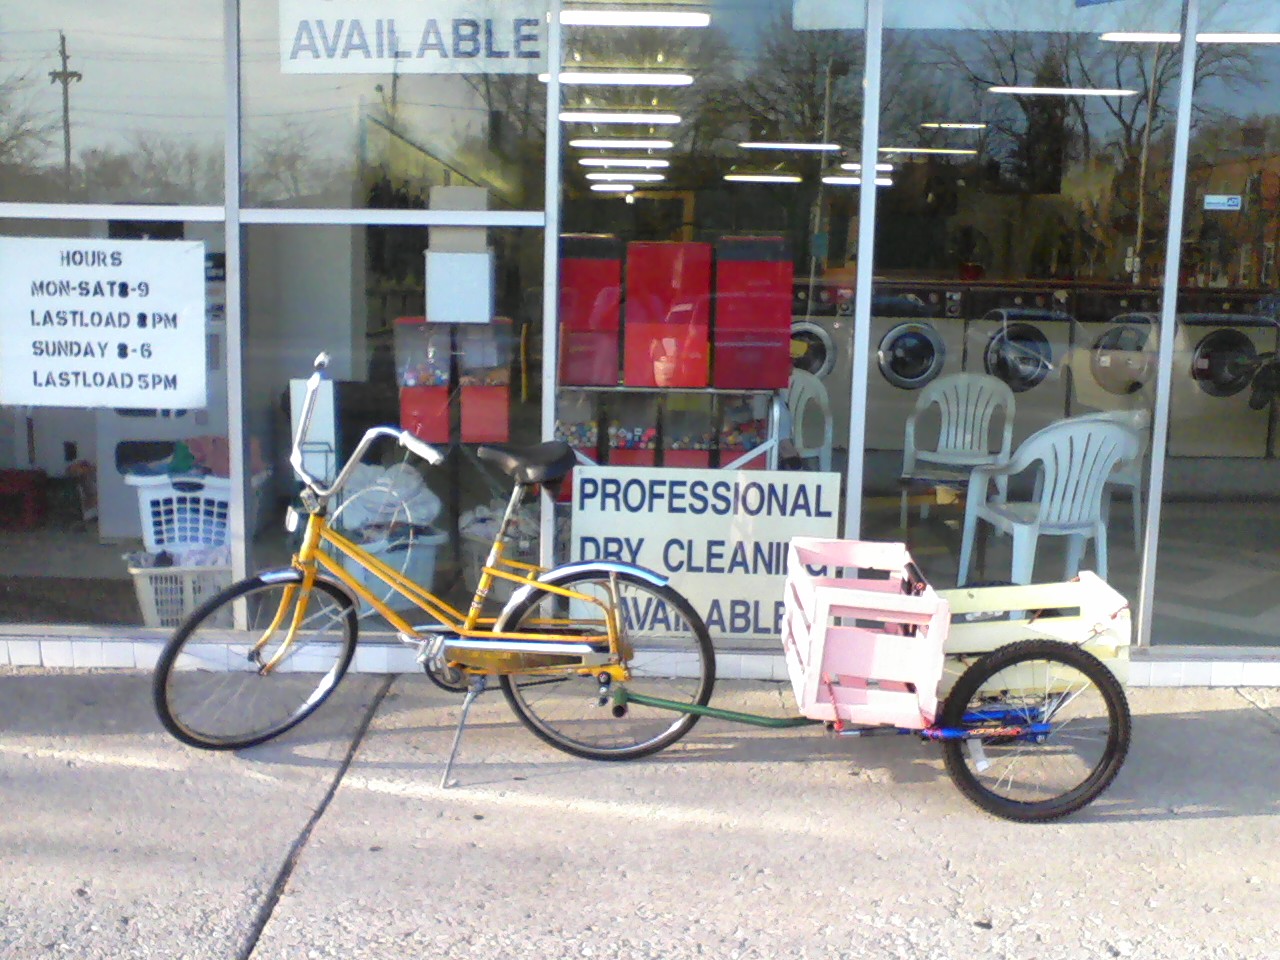
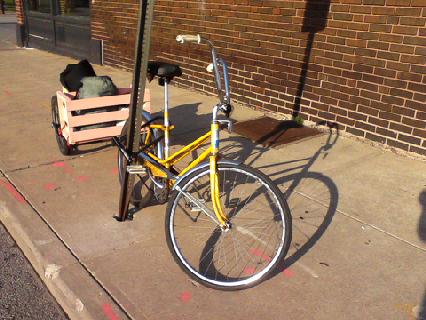
My new ride with trailer in tow — will be used for trailer demos.
Read post →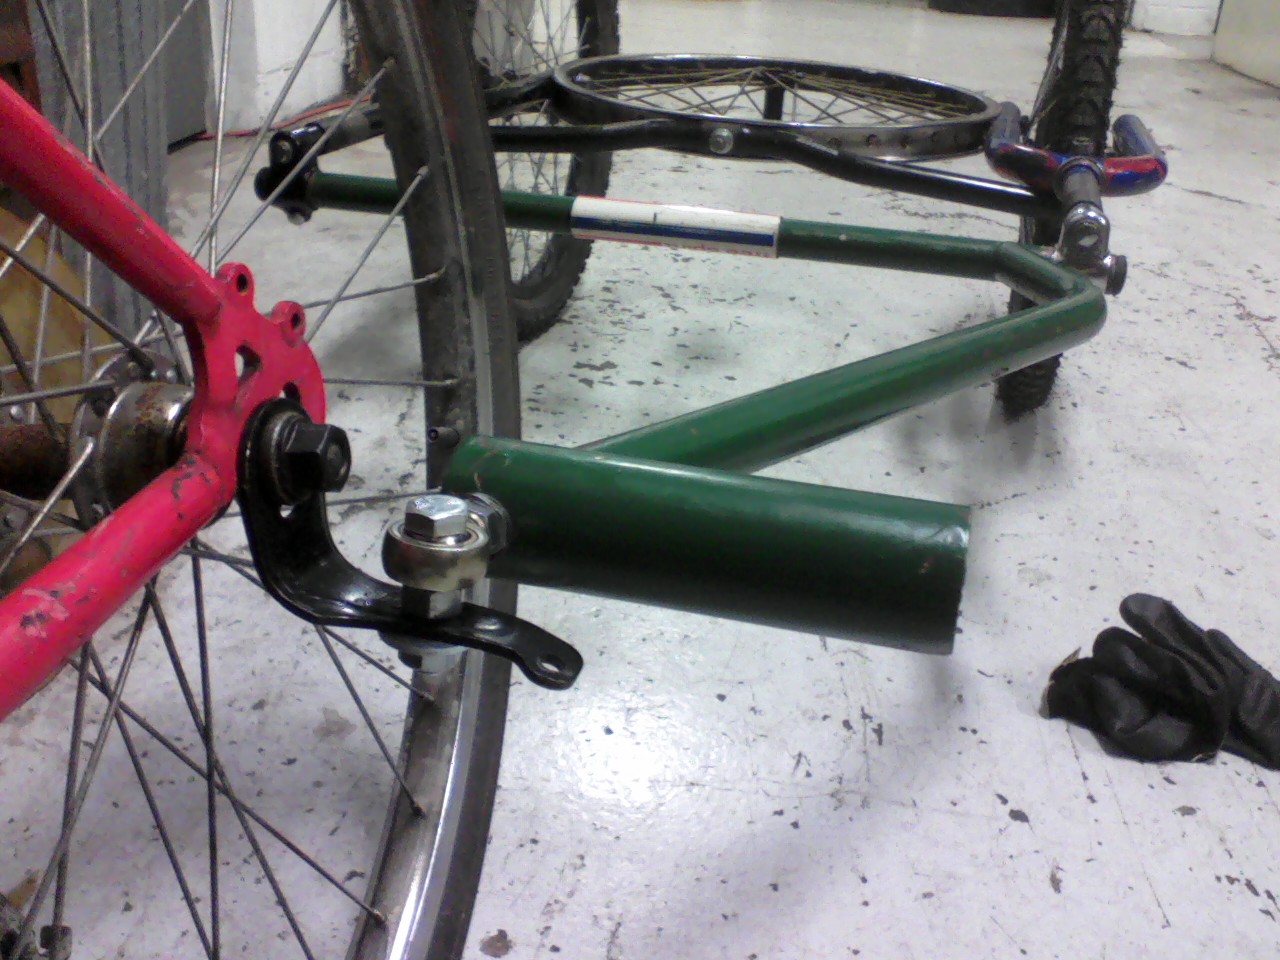
A brake arm from a coaster brake hub, bent in the vice with a hole drilled for a bolt. Simple and effective.
Read post →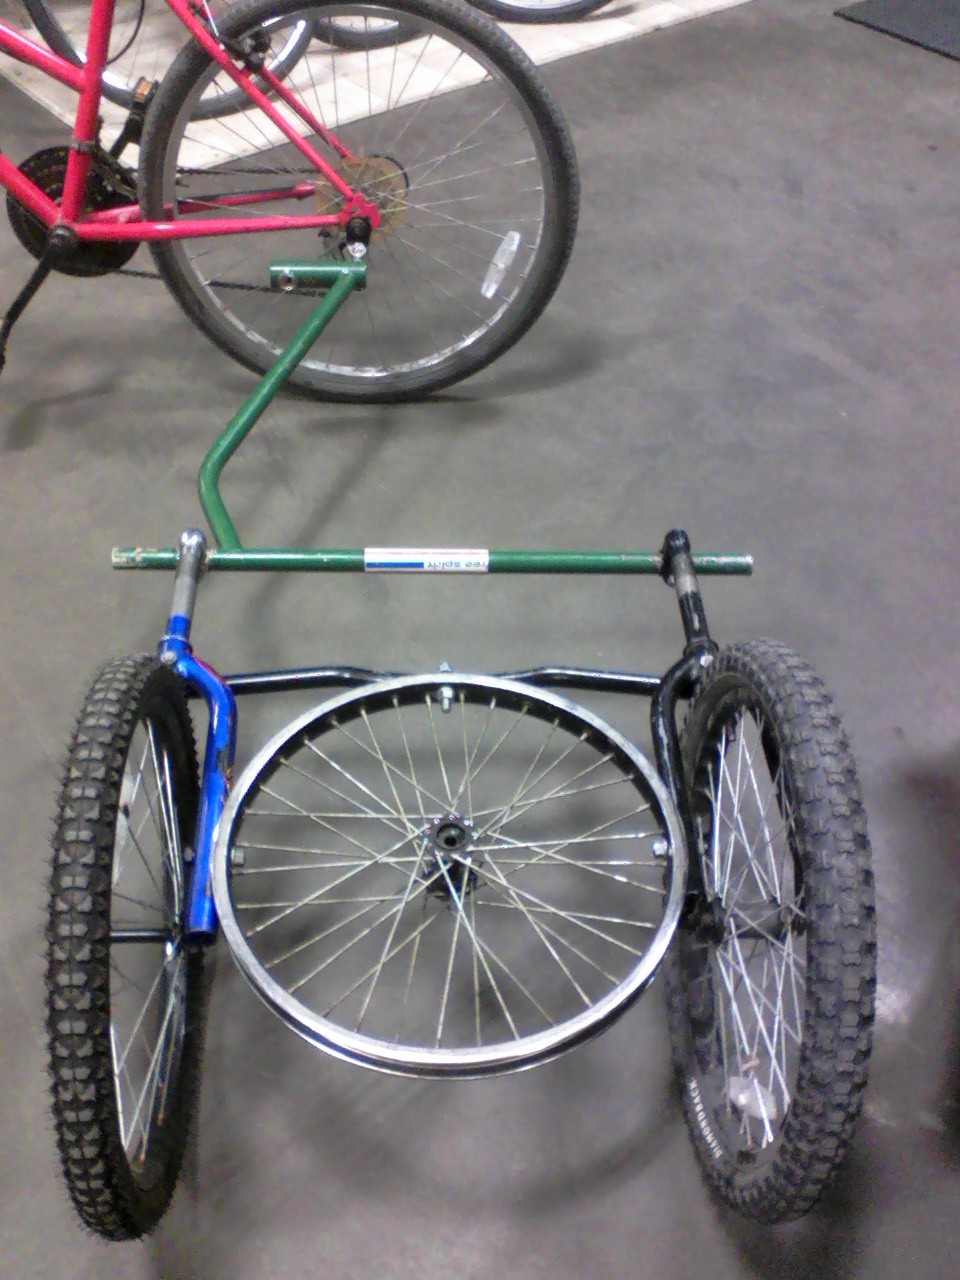
A clever dual-purpose design: the trailer hitch acts as a kickstand when the trailer is turned 90 degrees.
Read post →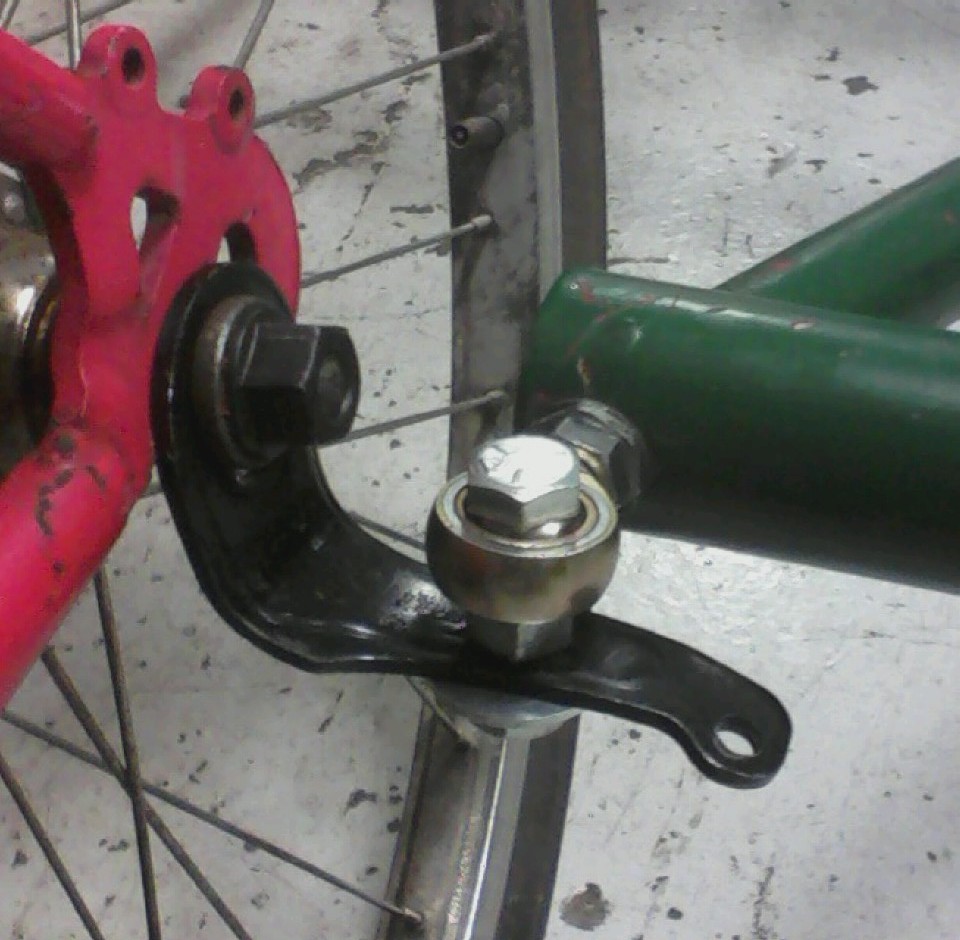
We're rolling now — 2 carts for demos and 2 for sale this Saturday at the Marmots' Meander 2012 event.
Read post →
First test of the front fork model hitched to a bike — 40 lbs of weights over cobblestones, worked real well.
Read post →This design is coming together quickly — tested at 175+ lbs, recommended payload 200 lbs, available within a couple of weeks at $200.
Read post →

The front fork rendition of the bike cart is simpler to assemble, requires less cutting, and results in a nice clean design.
Read post →
Using front forks instead of rear triangles — cleaner design, requires less cutting, and yields two trailers from two bikes.
Read post →The rough prototype as of 1/11/2012 — cross brace from bike frame tube with sleeve connections, tongue from seat tube and down tube.
Read post →
A thorough guide to thinking through your bike cart design — safety, payload, clearances, center of gravity, hitches, and more.
Read post →
The split steel rim tongue had too much flex — trying wider alloy rims, or a step-through frame's down tube and seat tube instead.
Read post →The lighter the trailer, the more cargo you can carry — exploring design elements that add strength without adding weight.
Read post →
First frame: two rear forks from 20" aluminum girls bikes, a top tube and down tube from a 26" mountain bike, and two 27" steel rims.
Read post →Initial sketches in Open Office Draw — new and more detailed sketches to come as the design develops.
Read post →
The world is full of landfills full of bikes — here are thoughts about how to use salvage bicycles to build carts.
Read post →
A cart made from an old Coos Bay Flier recumbent trike — proved reliable in a variety of difficult terrains.
Read post →
The Salvage Bicycle to Cart Project: low-tech, no-weld carts from salvaged bikes — all designs are free for anyone to use.
Read post →